Class Exercises
- Jan 28, 2020
- 4 min read
Colors
Image Size (Dune)
Learning about image size and resolution.
Resolution
- print 300-150
- screen 72-96
Orgone
Resizing the image size. Change resolution but do not change pixel dimension.
Select the chair using magnetic lasso tool and do layer via copy
Changing the color of the chair
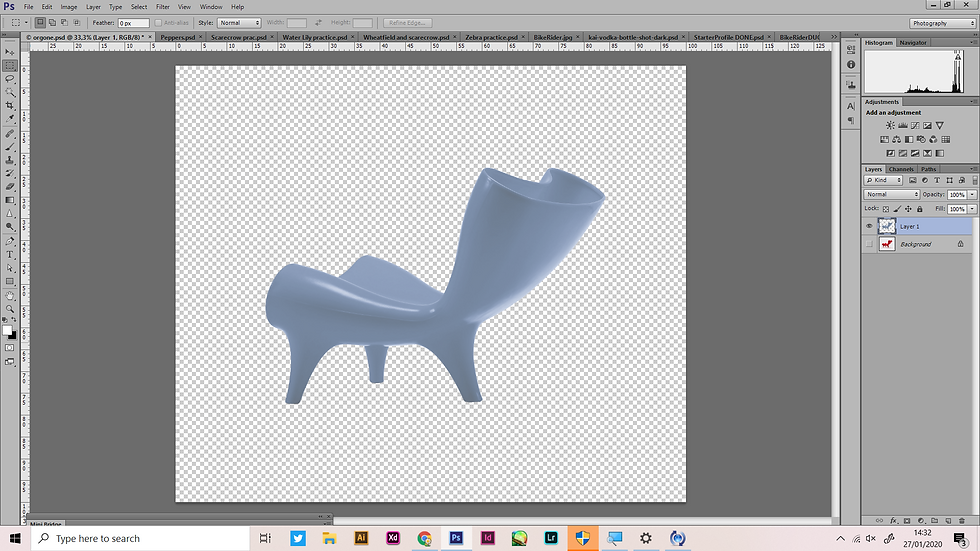
Image manipulation
Classic
Before After
Before After
Modern
Before After
Before After
Others
Before After
Before After
Photoshop
Peppers
Select the background of the peppers with quick selection tool. Then, inverse the selection so the pepper will be the selected object.
Click layer via copy and hide the Background layer. Make a new layer, pick a color, and click ctrl+backspace to fill the color of the new background.
Before After
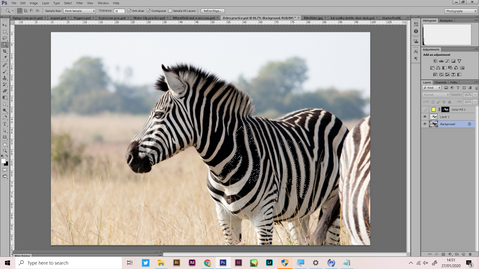
Zebra
1. Select the black patterns on the zebra with the quick selection tool. Then click layer via copy.
2. Select the layer via copy layer by holding ctrl and clicking the layer. Next, select solid color and pick a color.
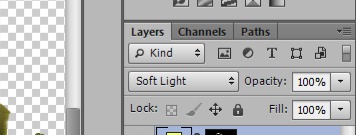
3. To blend the color, change the layer to soft light.
Final Results
Before After
Water Lily
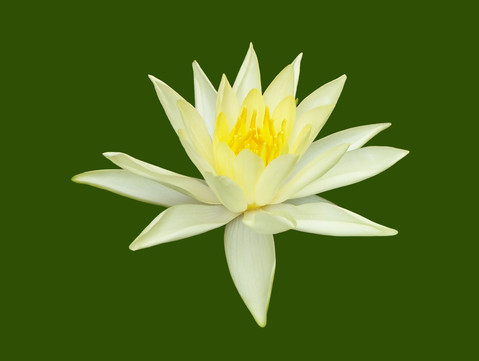
As the water lily has a high contrast, we can use the quick selection tool to select the water lily. Then click layer via copy.
Lastly, color the background by clicking ctrl+backspace/delete
Final Result
Before After
Scarecrow and Wheat Field
Move the cropped scarecrow to the wheat field. Make a layer mask, try to blend the wheat field and scarecrow using the eraser tool (soft, low opacity). Add gradient fill.
Select the crow and select levels in the adjustment layer. Adjust the darkness of the crow. Then copy the crow to the wheatfield file.

Adjust each layer of crow by using:
- Levels
- Selective coloring
- Smart filters (Gaussian blur)
Lastly, add an orange gradient for the sunset filling. Use the gradient adjustment layer. Change the layer to Linear Burn to blend the gradient.


Complex Selection
Making Composite
Copy Harry to the landscape picture. Duplicate the Harry layer and flip horizontal
Trying out different blending mode and adjustment layers such as divide, exclusion, color fill and more.
Objects Selection
Tesla Car
Select the tesla car with quick selection tool and refine it with the pen tool. For the selected area with curves, use the direct selection tool to make it neater.
After selecting, click layer via copy. Add another layer and color the background by picking one of the color from the background using eye dropper tool, and ctrl+backspace to fill color.
Maha Nakhon Tower
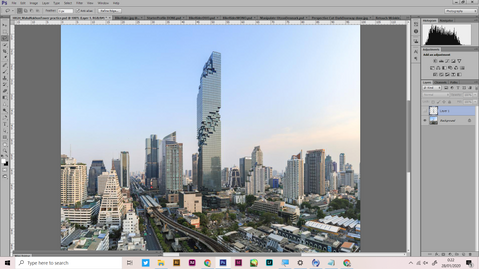
Select the building by using the pen tool.
Click layer via copy and add a new layer below. Fill the layer with color by pressing ctrl+backspace.
Photomontage
Croc Frog
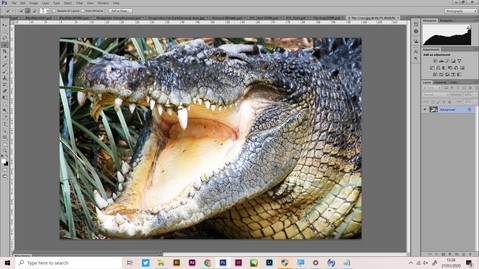
Select the crocodile using selection tools and paste it on to the frog's mouth. Adjust the color using color balance to make it blend with the frog.
Using the clone stamp and healing tool, try to blend the surfaces of the frog and crocodile. Use the color balance tool again to blend it even more.
Lastly use the dodge and burn tool to lighten and darken parts that is needed.
Before After
Alcohol Bottle Ads
Color some parts of the alcohol bottle red-orange with the brush tool. Copy the brushed layer. Make the layer to overlay and soflight. Next, decrease the opacity to 75%.
Adding the water splash to the bottle and use layer mask to adjust the dodge and burn. Giving red-orange color to the splash as well.
Adding the cropped martini glass beside the bottle and use layer mask for adjusting the dodge and burn. Color the glass red-orange and duplicate the coloring layer. Set layers as soft light and overlay.
Lastly, make another layer and use clone stamp tool to make reflection of the glass. Make a layer mask to adjust the dodge and burn.

Final Outcome

Double Exposure Effect
Add new layer with grey background. Using the dodge and burn tool, adjust the brightness and darkness.
Add the picture of smoke and mask it to erase the unwanted parts. Select the suitable layer mode, as for me I chose screen.
Next, add the picture of and mask it to erase unwanted parts. Adjust the layer opacity to make it blend well. Select the suitable layer mode, as for me I chose lighten.

Advanced Techniques
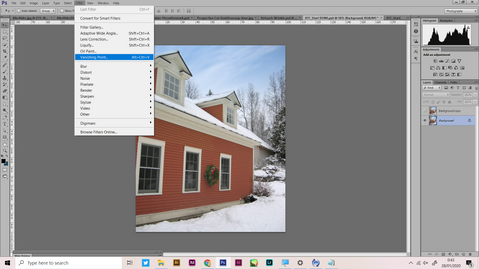
Vanishing Points
Click filter and select vanishing point. Use the create plane tool to select the wall at the window area, the color turns blue when the right selection is made.
Use the Marquee Tool to select the wanted window. Then, click alt and drag the window to the wanted area. The vanishing point tool will drag it along with the right perspective.
Before After
Warp Tool
Crop the door using the perspective crop tool. Adjust the points to match it with the points of the door. Press enter to see result.
Before After
Bike Rider (Mono-Duo Tone)
Click Image>mode>duotone, a duotone options window will pop out. Change the setting of duotone to monotone and choose any color you like. Use the curves in the adjustment layer to control the contrast.
Repeat the same steps with the duotone, except change the monotone settings to duotone. Choose 2 colors.
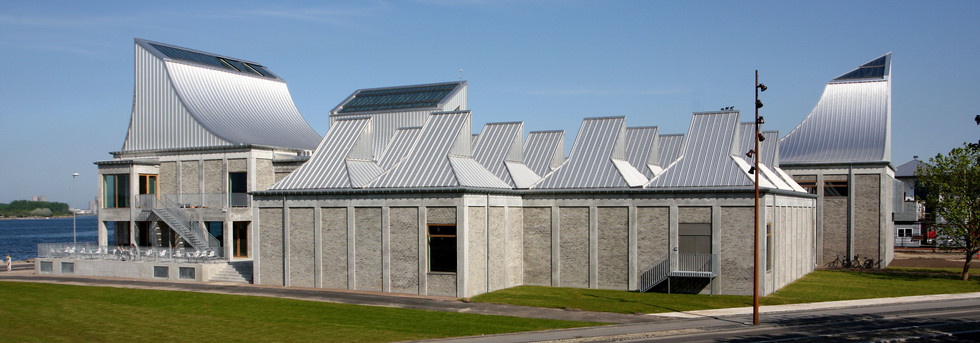
Manipulate Utzon Denmark (unwanted pole)

Create a new layer for retouching
on top of the background.

Use the clone stamp and healing tool to erase the pole and retouch other parts. Click alt to define the source for the clone stamp tool.
Result
Retouch Wrinkle
Add another layer for retouching. Use the clone stamp and healing tool to retouch the wrinkles. Click alt to define the source for the clone stamp tool.

Create another layer on top with a grey background. Use the dodge and burn tool to adjust brightness and darkness.

Before After




















Comments