Basic Photoshop: Making Small House
- Keiza Croque

- Jan 27, 2020
- 1 min read
Updated: Feb 15, 2021
For the first class of Digital Design Photoshop, we practiced making a small house using basic tools and shapes.
The first step is to create the workspace/canvas size. The canvas size that we used is 600 pixels x 400 pixels. Next, we should select the resolution. The suitable resolution for screen is 72-96 pixels/inch while for printing it should be around 300-150 pixels/inch.

We also learned several shortcuts such as:
b - brush
x - to switch between background and foreground
f - to switch between fullscreen and window
0 - to fit to screen
The second step is to create the background color for the sky

To color the whole canvas, I used the shortcut ctrl backspace
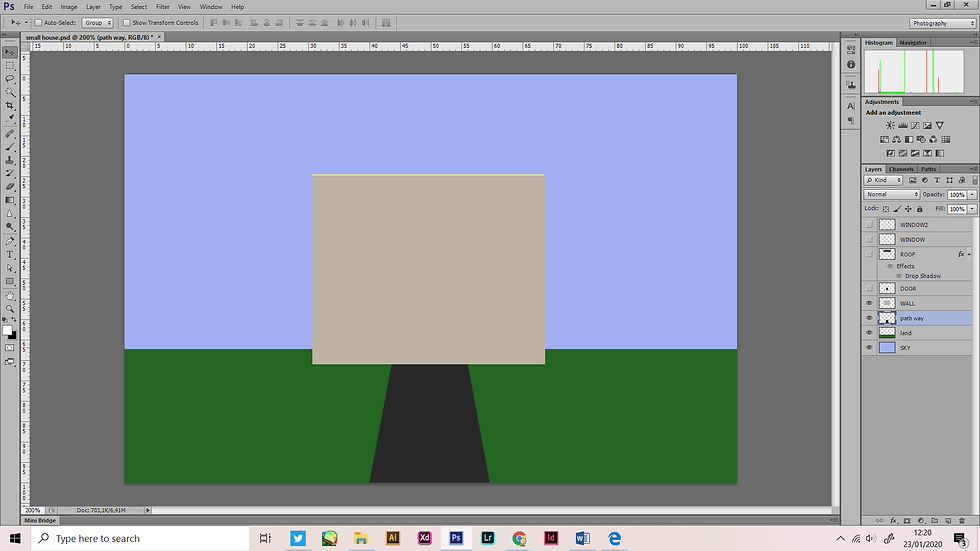
Then I create the grass and wall using the rectangle tool and fill it with color and no stroke.


For the pathway, I also used the rectangle tool and edited it to make the right perspective by
Edit > Transform > Distort . Then adjust it to the right shape.


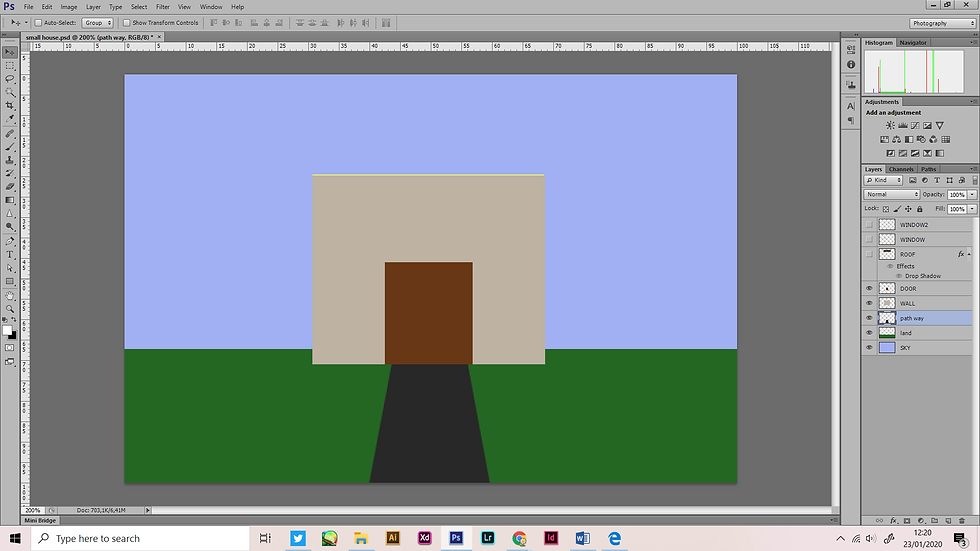
To make the door I used the rectangle tool too.

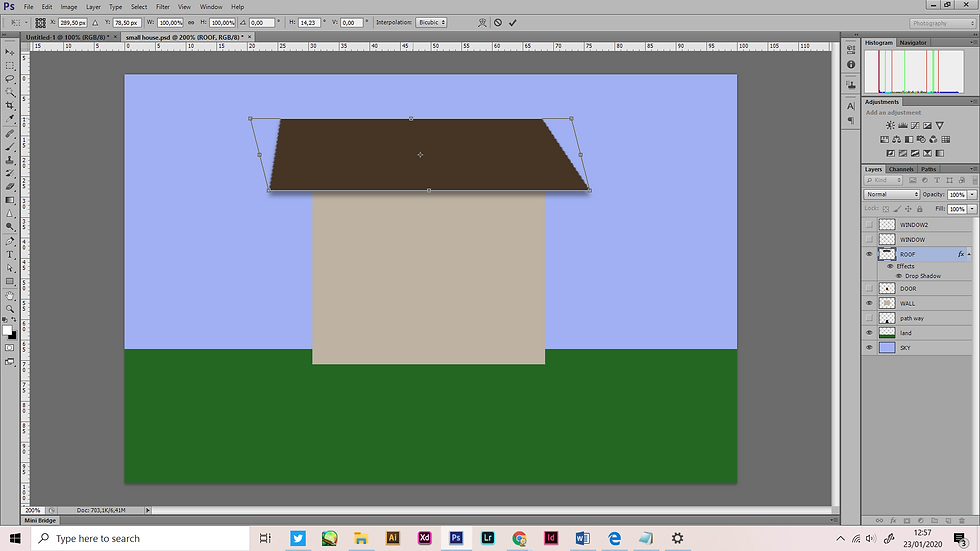
I made a rectangle for the roof using the rectangle tool. Using the distort tool, I edited it to create a trapezium, making it more like a roof shape.


I added a drop shadow effect to make it look like the roof is on top of the wall.


Lastly, create a window by using the rectangle tool and adding a stroke with a 1pt weight to create its frame.
Create another window by duplicating the "window layer".


Comments